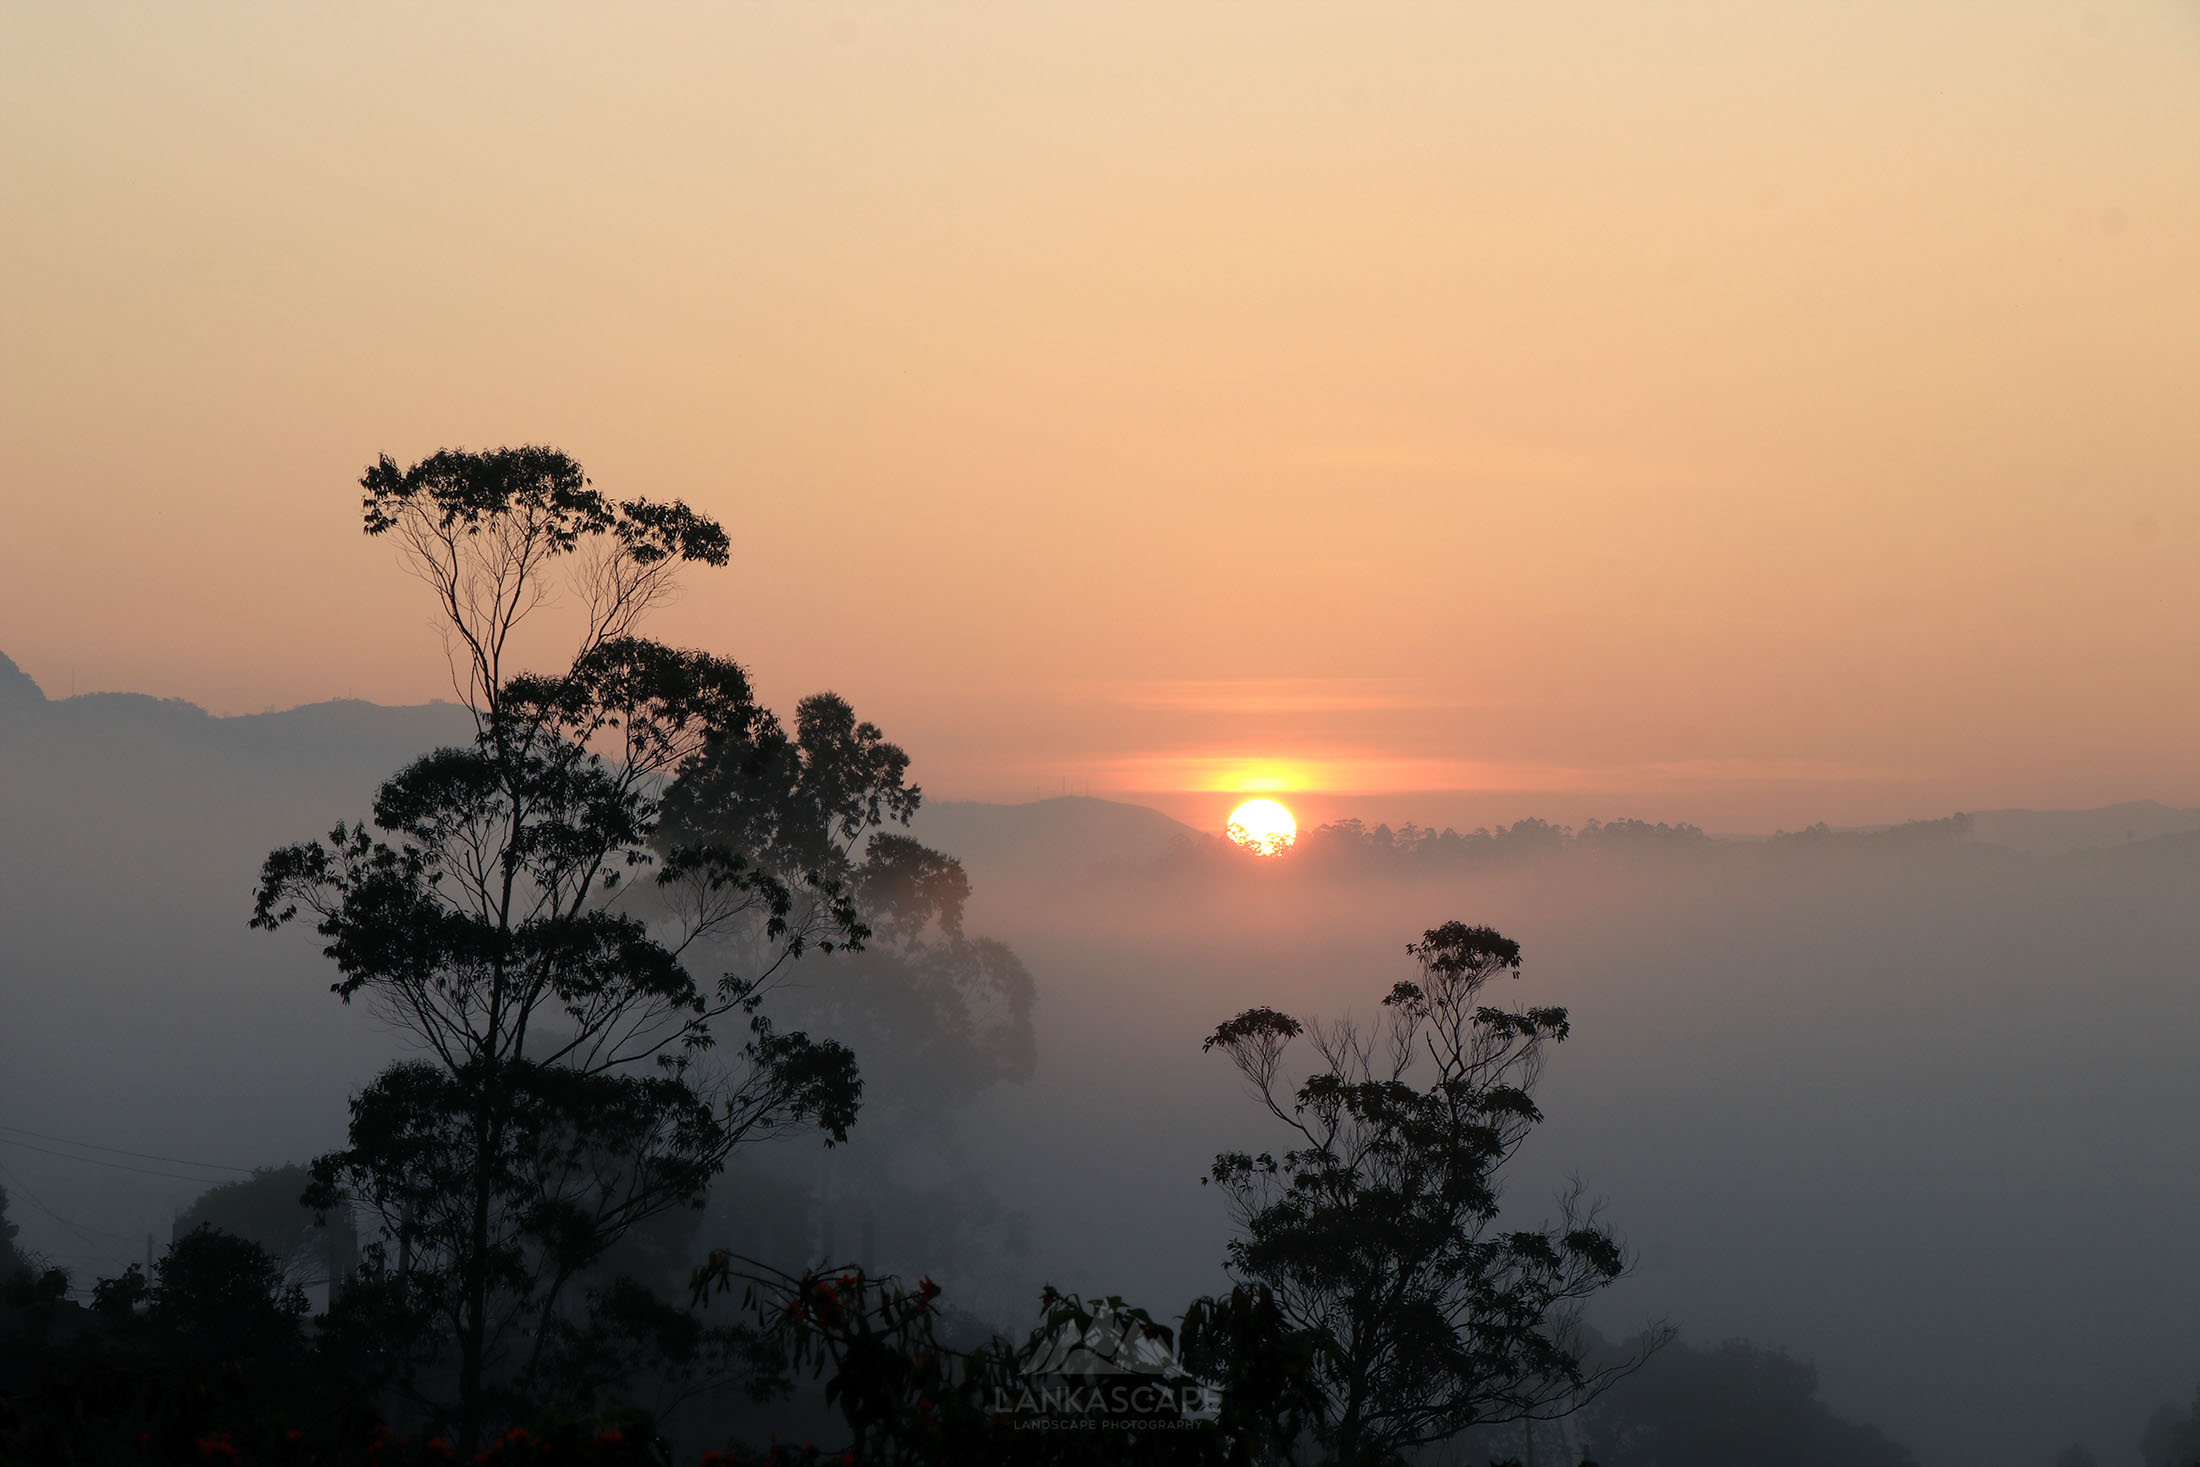
How to Take Breathtaking Sunrise Photos
A Step-by-Step Guide to Capturing the Magic of Dawn

A Step-by-Step Guide to Capturing the Magic of Dawn
Sunrises are magical. The soft light, vibrant colors, and peaceful atmosphere make it a favorite moment for photographers. But getting that perfect sunrise photo isn't just luck—it's about preparation and technique. This guide will walk you through every step, from planning to editing, so you can capture sunrise photos that are truly stunning.
Planning is the first and most important step. Look up the exact time of sunrise for your location and decide where you want to shoot. Tools like weather apps and sun-tracking apps can help. Consider how the light will interact with the landscape—will the sun rise behind a mountain or over water? Think about your composition. Will it be a wide-angle shot capturing the entire scene, or a close-up focusing on a single element like a tree or a reflection? The more you plan, the better your chances of capturing a spectacular image.
Arriving early is essential. Aim to get to your location at least an hour before sunrise. This gives you time to explore the area, set up your gear, and get a good spot. Early arrival also lets you capture the "blue hour," the time just before the sun rises, when the sky glows in soft blue tones. Don't forget to bring warm clothes, a flashlight, and perhaps a thermos of coffee or tea to keep yourself comfortable. Preparation pays off!
Getting the right settings on your camera is key. Use manual mode to have full control. Set your ISO to the lowest value (usually 100 or 200) to reduce noise. Start with a wide aperture, like f/2.8, to let in more light. Adjust your shutter speed based on the brightness—1/125th of a second is a good starting point. A graduated neutral density (ND) filter can help balance the bright sky and darker foreground. If you're not sure, try bracketing—take multiple shots at different exposures and choose the best one later.
Always shoot in RAW format. RAW files preserve more detail compared to JPEGs, giving you more flexibility when editing. For sunrise photos, this is especially important because the lighting changes quickly and may require fine adjustments. A RAW file allows you to correct exposure, enhance colors, and recover details in shadows or highlights without losing image quality. If your camera supports it, enable RAW + JPEG mode so you can have both formats for convenience.
Editing is where the magic happens. Start by adjusting the exposure and contrast to make the image pop. Use tools to enhance the colors of the sunrise—boost the reds, oranges, and yellows to make the scene more vibrant. Don't overdo it; aim for natural but striking results. You can also add some warmth to the photo to highlight the morning glow. Experiment with cropping or straightening your image to improve composition. Editing is an art, so take your time and enjoy the process.
Sunrise photography is a rewarding experience that combines planning, technique, and creativity. By following these steps—planning your shot, arriving early, using the right settings, shooting in RAW, and editing—you'll create photos that truly capture the beauty of a new day. Remember, practice makes perfect. The more you shoot, the better you'll get. So grab your camera, wake up early, and start capturing those breathtaking sunrises.
Thank you for reading! May your mornings be filled with stunning light and captivating scenes.