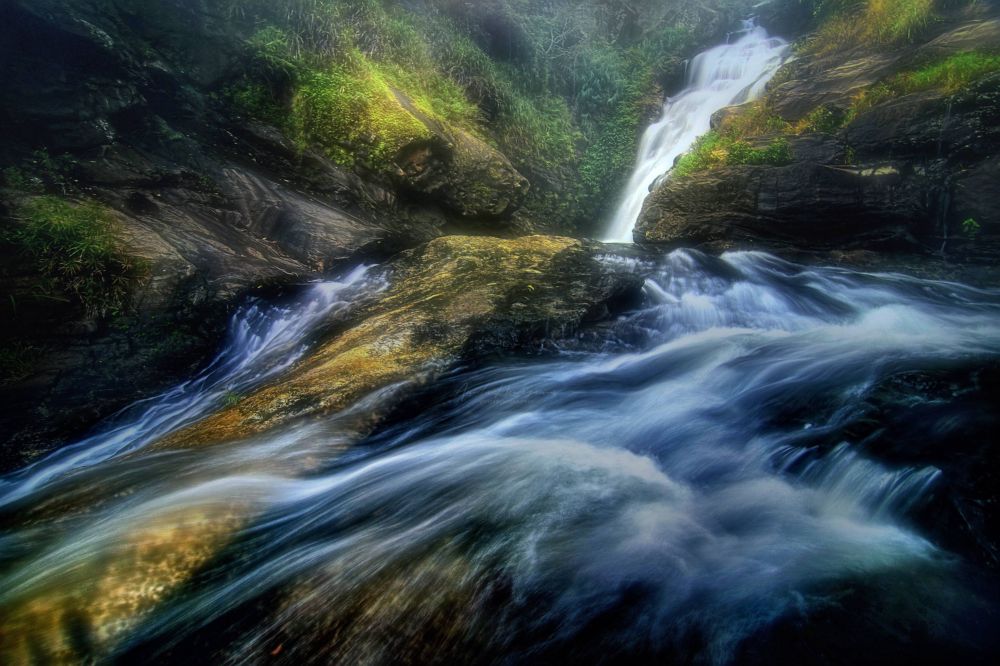
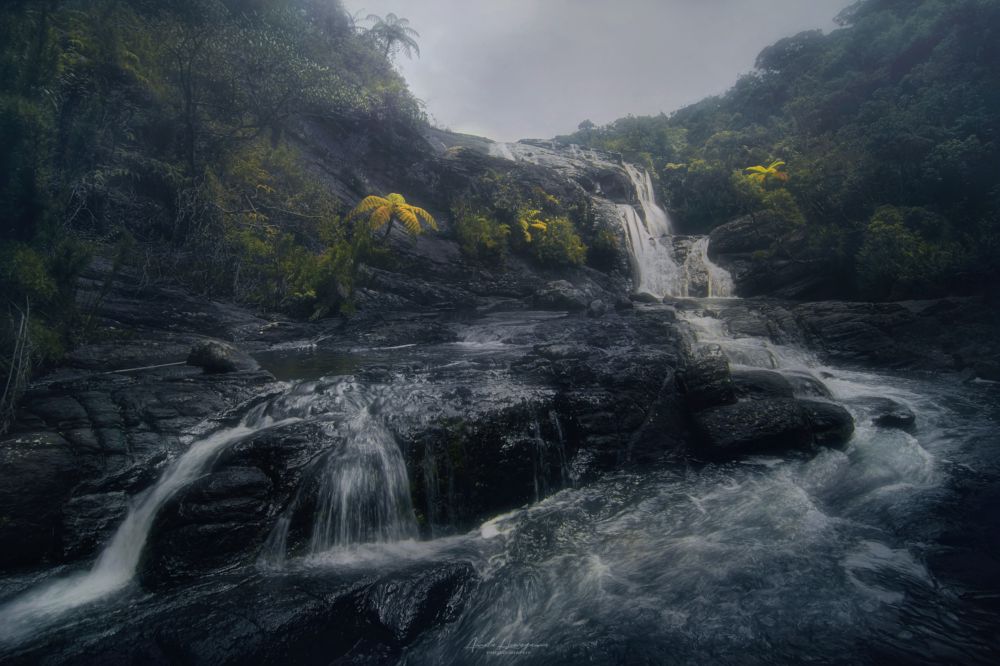
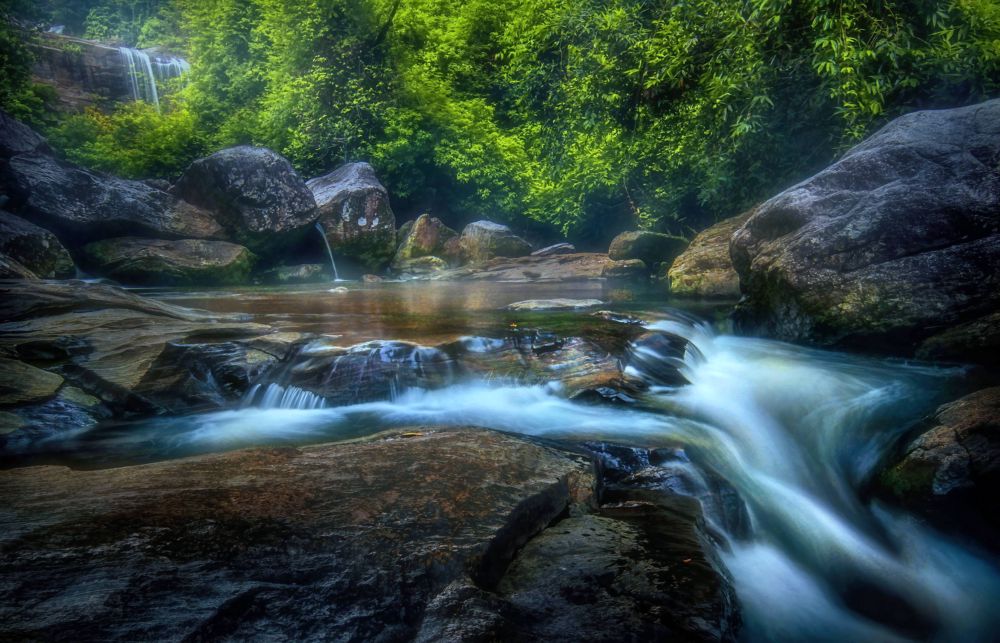
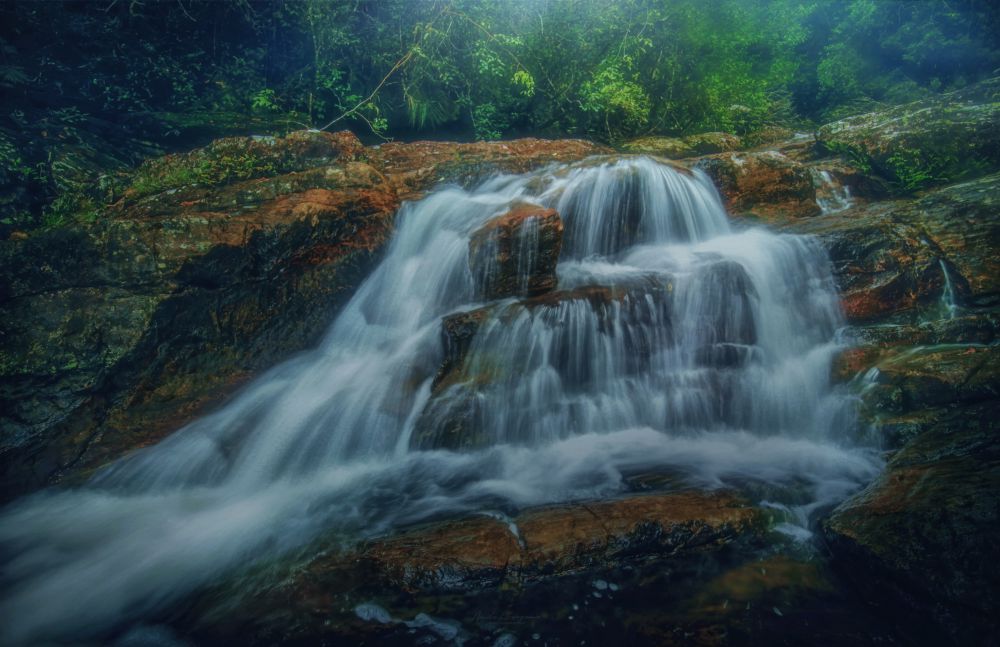
Cascading Beauty: Mastering the Art of Waterfall Photography

image

Mastering Waterfall Photography: 10 Essential Tips

1. Choose the Right Location

  • Look for waterfalls with strong currents, mist, and captivating rock formations.
  • The stronger the current, the more dramatic the waterfall will look.
  • Mist can add atmosphere to your photos and make the waterfall look more ethereal.
  • Captivating rock formations can add interest to your photos and frame the waterfall in a beautiful way.
  • Consider the time of year when planning your shoot, as the flow of the waterfall may vary depending on the season.
  • Be sure to check the weather forecast before you go, as rain can make it difficult to shoot waterfalls.
  • Rain can make the rocks slippery and dangerous, and it can also make it difficult to see the waterfall.
  • If it's raining, it's best to reschedule your shoot for another day.
image

2. Optimal Lighting

  • The golden hours of early morning or late afternoon are the best times to shoot waterfalls, as the sun's angle will create beautiful, soft light.
  • The sun's low angle will create long shadows, which can add drama to your photos.
  • The soft light will help to minimize harsh shadows and make the waterfall look more natural.
  • If you're shooting in the middle of the day, try to find a spot with dappled shade to create interesting patterns of light and shadow.
  • Dappled shade is created by sunlight filtering through leaves or branches.
  • This can create a very painterly effect in your photos.
  • You can also use a polarizing filter to reduce glare and enhance the colors in your photos.
  • A polarizing filter will also help to darken the sky, which can help to make the waterfall stand out.
image

3. Slow Shutter Speed

  • Use a slow shutter speed (around 1-2 seconds) to introduce motion and create that classic flowing water effect.
  • A slow shutter speed will allow the water to blur, creating a sense of movement.
  • This can be a very effective way to capture the power and beauty of a waterfall.
  • A tripod is essential for using slow shutter speeds, as it will help to prevent camera shake.
  • Camera shake can ruin your photos, so it's important to use a tripod whenever you're using a slow shutter speed.
  • You may also want to use a remote shutter release to avoid camera shake caused by pressing the shutter button.
  • A remote shutter release will allow you to trigger the shutter without touching the camera, which can help to prevent camera shake.
image

4. Narrow Aperture

  • A narrow aperture (like f/16) will help to achieve depth and blur in your photos.
    • A narrow aperture will keep the waterfall in focus, while blurring the foreground and background.
    • This can create a more dramatic and visually appealing effect.
    • This is especially helpful when shooting waterfalls, as it can help to isolate the waterfall from its surroundings and make it the focal point of your photo.
    • A narrow aperture will also help to increase the shutter speed, which can be helpful when shooting waterfalls in bright conditions.
    image

    5. Steady Tripod

    • A sturdy tripod is essential for waterfall photography, especially if you're using a slow shutter speed or a narrow aperture.
    • A tripod will help to prevent camera shake and ensure that your photos are sharp and clear.
    • If you don't have a tripod, you can try using a beanbag or other stable surface to support your camera.

    6. Composition Exploration

    • Experiment with different compositions to find unique angles and framing that capture the waterfall's character.
    • Try shooting from different heights, angles, and distances.
    • Frame the waterfall with interesting foreground elements, such as rocks, trees, or flowers.
    • You can also use the rule of thirds to help you compose your photos.
    • The rule of thirds is a composition guideline that divides the frame into thirds, both horizontally and vertically.
    • The most important elements of your photo should be placed at the intersections of these lines.

    7. Enhancing Filters

    • Graduated neutral density (ND) filters can be used to balance the exposure between the sky and foreground.
    • This is especially helpful when shooting waterfalls in bright conditions, such as at sunrise or sunset.
    • ND filters will darken the sky, which can help to make the waterfall stand out.
    • Polarizing filters can be used to reduce glare and enhance the colors in your photos.
    • Polarizing filters will also help to darken the sky, which can help to make the waterfall stand out.
    • You can also use a graduated ND filter and a polarizing filter together to create even more dramatic waterfall photos.

    8. Post-Processing Magic

    • Photo editing software like Adobe Lightroom and Photoshop can be used to refine and enhance your waterfall shots.
    • Use these programs to adjust the color, contrast, and exposure of your photos.
    • You can also use these programs to add creative effects, such as HDR or tilt-shift.
    • Don't be afraid to experiment with different post-processing techniques to see what works best for your photos.

    9. Share Your Art

    • Showcase your stunning waterfall photographs on social media, photography platforms, and even in print.
    • This is a great way to connect with other photographers and share your love of waterfall photography with the world.
    • You may also want to enter your photos in competitions to get feedback and recognition from other photographers.

    10. Embrace the Journey

    • Waterfall photography is both a challenge and a joy.
    • Relax, have fun, and savor the creative process.
    • Don't be afraid to experiment and try new things.
    • The more you shoot, the better you'll get at capturing the beauty of waterfalls.